Sub-Total: $0.00

A retaining wall is defined as a wall that is built to keep the land behind it from sliding.
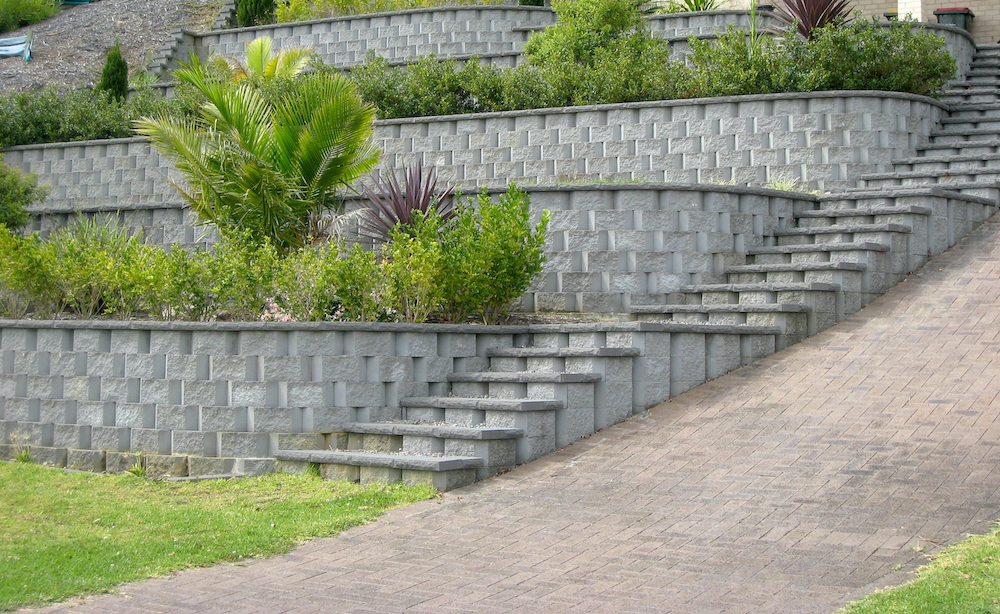
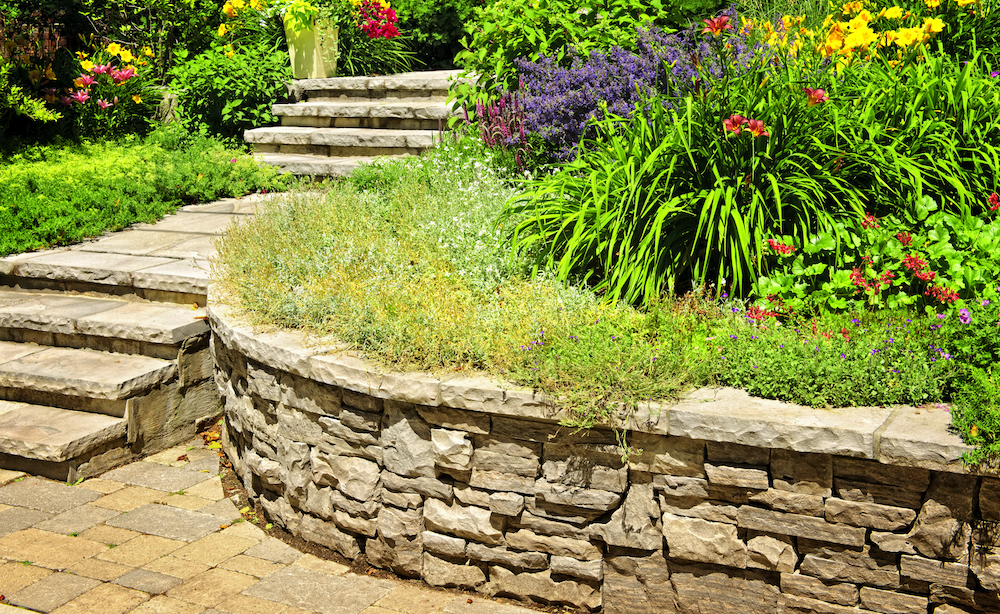
Retaining walls are functional walls that can also be decorative additions to any landscape. When there is a sloped landscape, retaining walls are a great solution to help stop that slope and build a leveled out area of land. Creating leveled areas in your landscape is helpful for having more use of open grass areas or as a way to add patios or other landscape features. Retaining walls can come in all shapes or sizes. Each landscape may require a different style of retaining walls, steeper slopes may require a series of 4-foot high retaining walls with stairs to get to each terraced level or less severe slopes may just have a small 18-inch high wall that can be used as a sitting area around a patio.
Carolina Fresh Farms carries all the supplies you need to build a retaining wall of any shape, size or style. Our wide selection of natural stones come from various quarries which provide many unique styles and stones. We also carry a wide variety of pavers from Tremron and Keystone that can be used for retaining walls. If you are looking for a DIY guide, follow our detailed plans below or if you’re looking for a trusted landscape contractor to build your wall, fill out this form.
Contractor Referral
DIY plans to build a retaining wall:
- Measure the area in which you want to build the wall
- Select the material you would like to build the wall out of
- Build the retaining wall
- Plan and mark where to start.
- Dig out a trench 4–8 inches below the base of the wall.
- Fill in the trench with a sturdy yet drainable base.
- Stack your wall stones and backfill.
- Finishing touches for the retaining wall.
Measure the area in which you want to build the wall
When planning your retaining wall, you will need to measure the area where you want to build it. First, you should measure the length of the wall, then you should determine the height of the wall. Remember that you will want to dig a bit lower than the base of the wall—about 4–8 inches—which you will need to factor into your measurements. This will give you an approximate square footage of stone or material needed.
Select the material you would like to build the wall out of
When building a wall, you have many options on how you would like to move forward. In general, you can choose natural stone, concrete pavers or cement with natural stone facing. Carolina Fresh Farms outlets carry all the materials you will need for any upcoming retaining wall projects.
Natural Stone:
- Tremron and Keystone manufacture concrete wall stones with caps that can be ordered in many colors and sizes.
Cement with Natural Stone Facing:
- You can also build a retaining wall with concrete blocks or pouring cement and facing the wall with natural stone.
Build the retaining wall
Step 1: Mark where you want to build your wall with paint and start digging.
To get started, you should start by roping off the area in which you want to build the wall. You can do this with two stakes and tie twine from each stake. Once you have those in the ground, you can then use spray paint to mark where you want the wall to be. Then, start digging!
You will want to dig a trench straight down and wide enough for the wall stone you chose to fit in. Also be sure to dig about 4–8 inches deeper than the base of the ground so you can build a secure base of gravel to stack your first row of stones on.
Step 2: Prepare the base of the wall.
Add a base of gravel. We recommend #57 Gravel, at about 1–3-inch thickness and then tamp it down with a tamper to make sure the base is level.
Step 3: Lay your first row of stones.
Depending on the stones you choose, you may or may not need to be more cautious of being level. If you are using a natural stacking stone such as a flagstone or fieldstone, being precisely level isn’t as much of an issue since each stone is shaped differently and will require you to level it to the best of your ability each time you place a new stone.
When using the concrete paver blocks, you will need to be sure your first row of blocks is very level. If your first row is not level, then the rest of your wall will be off level and will get more and more noticeable as you add more rows.
Step 4: Stack remaining stones and backfill.
When stacking stones, it’s best to overlap the stones in which two stones on the previous row meet. For example, on row one where two stones meet on row two, you will want to make sure two stones do not meet at the same point. This gives more stability to your wall and also a better aesthetic look. Depending on the wall stone you choose, you may need to make cuts or shape the flagstone to fit your exact needs.
If you are using flagstone, you can use a heavy hammer of some sort to break off pieces and shape the stone to fit your needs.
On the other hand, if you are using concrete pavers, you will need a circular saw with a blade that is rated to cut through stone to get a precise cut.
As you build the wall, you will want to backfill up to the most recently finished row. We recommend using gravel as a backfill. When you are approximately 3–5 inches away from the top of your wall, you will want to switch to top soil. Gravel allows for water to pass through and will eliminate extra stress and force against your wall after a heavy rainfall. Soil can soak up water and will become heavier which puts more force against your wall and can cause your wall to collapse.
Step 6: Add any finishing touches.
When you have reached your desired height, you will need to lay the last row of wall stone down to cap your wall. If it is a concrete paver wall, they typically have specifically built caps that are meant for the top of the wall.
If you are doing a more natural stone look with thin-stack, field stone or boulders, you will want to find stones that are flatter that can be a good use for the top since you will want that to look very level and uniform.
Related Products
Sorry, we couldn't find any posts. Please try a different search.